I just finished working on 2 custom picture to cross-stitch patterns for a woman on Etsy, and I thought it would be fun to share the steps involved in the conversion.
The original photo
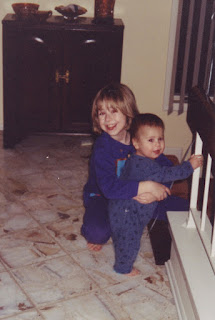
First off, this woman was great because she sent me high-resolution scans (300 dpi) of the old photos, which made it a lot easier to work with!
Cropping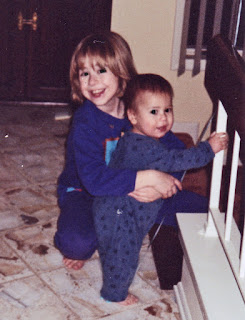
She said she wanted her and her brother, plus the railing he was holding, but she didn't care about the rest of the background. So I started by cropping the photo down to the approximate final size. I did a few touch-ups with the color at this point to improve the skin tone. I've found that when converting to cross-stitch, skin tone becomes much darker than it appears on the computer screen. So I actually over-lightened it because I know it will come out better that way.
Touch Ups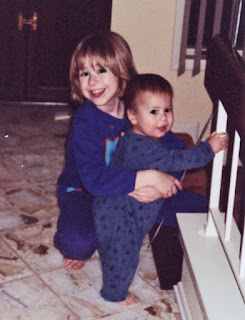
I mentioned that I fixed some of the color. I also removed the scratches that were present in the original, like in the girl's hair and on the boy's leg. This takes a little bit of time in Photoshop, but I definitely wouldn't want those blemishes to make it through to the final piece.
Remove background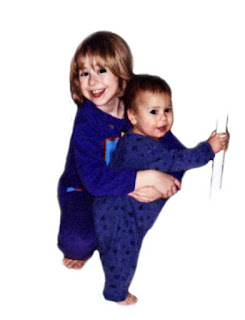
Again, the client didn't care about the background, so I cut out everything except for the two kids and a part of the railing. When the piece is stitched, she has the option of only stitching the colored parts, or stitching the entire background white (or any other color for that matter). I prefer the former method, but I like to leave that option for the client.
Pixelating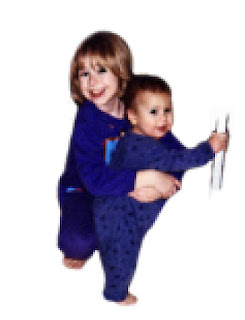
Before importing the picture into the cross-stitch software, I use Photoshop to get an idea of how it will look. I pixelate the image so that each inch is 14 pixels per side, which is the same as 14-count Aida cloth (as the client specified). The image is blurry, but overall looks good.
Convert to stitches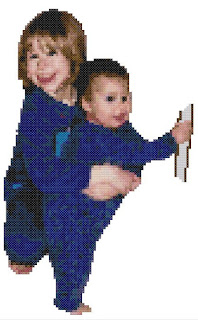
I import the picture into the cross-stitch software, which then re-does the pixelating that I did in the last step. Only the software takes it a step further: it matches the color value of each pixel to known embroidery thread colors. This is the crucial step that would take forever by hand. However, the downside of the software is it has a hard time with detail, so the faces can get blurry and odd-looking. Another downside is that small variation in color can become extreme when pixelated, so a person can end up with a spot of green on their cheek or purple in their hair. These have to be cleaned up by hand and that's the most time-consuming part of the project. I also check through the image to make sure that each floss color is being used wisely. For example, it is inefficient to have one stitch of dark blue in a sea of medium blue because then you have to make just that one stitch differently, but the visual result won't be any different if you did it all in medium blue (of course, detailed areas like faces are the exception - one spot of dark blue can be an eye and you don't want to lose one of them). Also I don't like to make the client work with colors that have fewer than 10 stitches in the pattern, so I manually replace them with appropriate colors that are used elsewhere in the image.
Pattern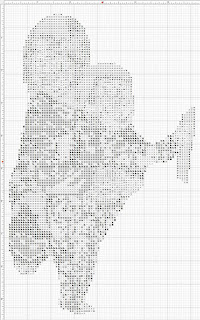
Finally, when I get the pattern to where I like it, I use the software to convert the pixels to symbols and match the symbols to the thread colors. I always double-check here because the software likes to use symbols that are very similar, like squares that differ by less than 10% in size. Once printed, it is almost impossible to tell the difference in these, so again I have to manually identify and adjust those. After that, it's just a matter of printing it out and sending it to the client!


